![]()
![]()
PRO Level team Admins are able to add application images to create galleries and contribute content to the Inspirational Search on their website. To get started, expand the Inspiration tab on the sidebar navigation and select Application Photos, then select the Add New Photo+ button.
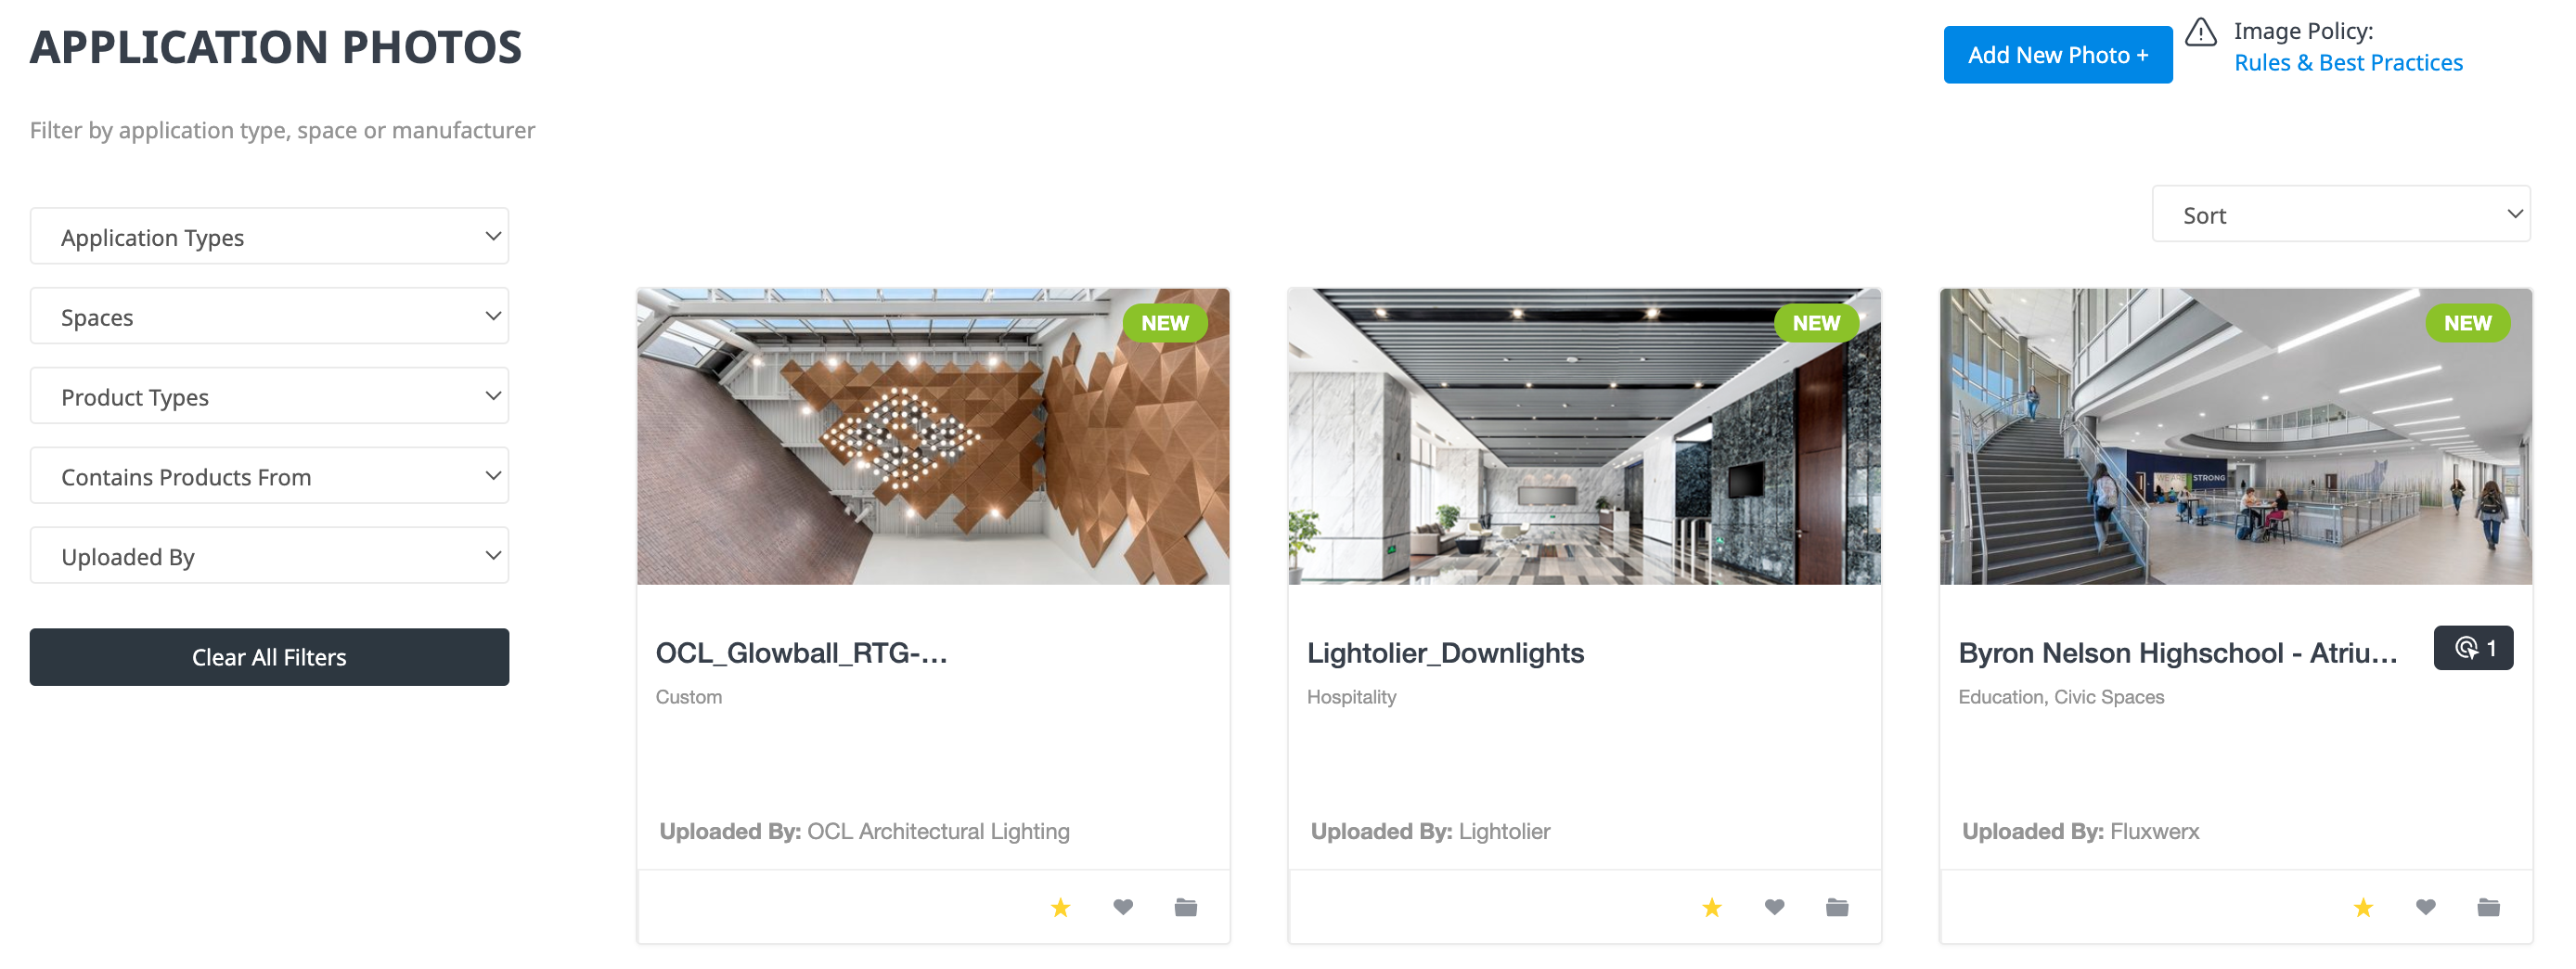
This will open the Add New Application Photo page. Start by uploading your image, then select from Landscape or Portrait to crop your image. The aspect ratios are locked in at 2:1 for Landscape and 3:2 for Portrait.
After you have uploaded and cropped your image, add a title, tag the application type and space and include any photo credits. Photographer Credits is not a required field, but it’s recommended that you list this information if required by your photographer.

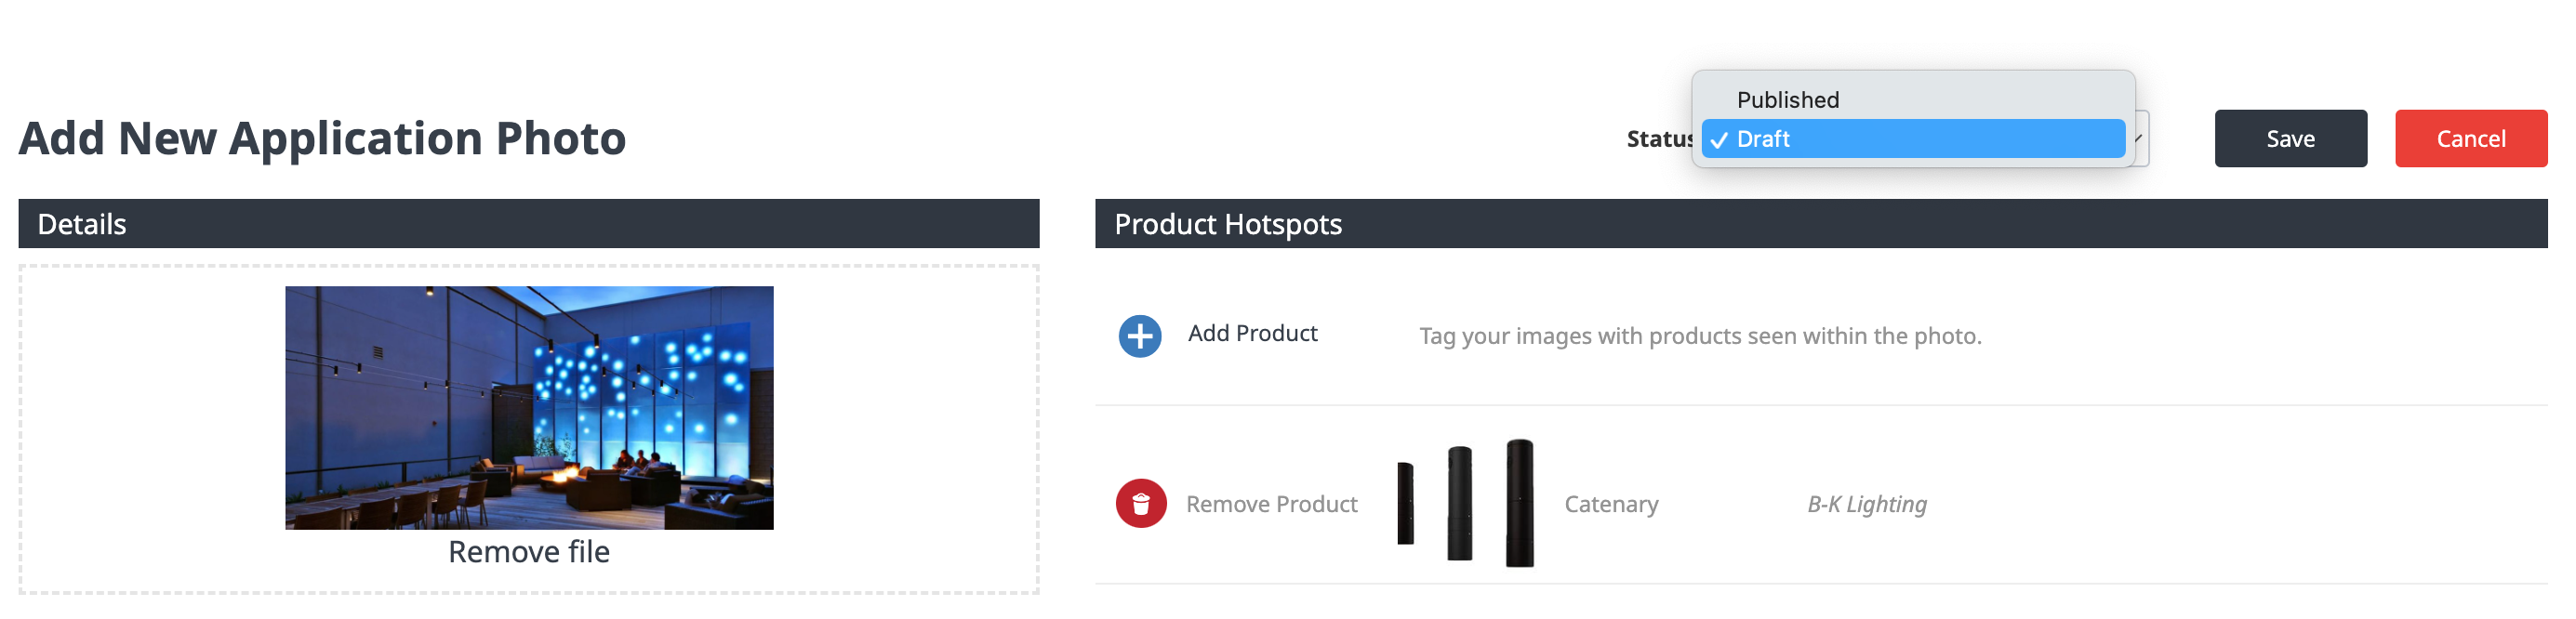
Add product hotspots to your image by clicking the Add Product button. From this window simply double-click on the product(s) within an image to mark the hotspot, then use the search bar to identify each product. Click on the blue checkmark icon to confirm your product selection then press the Save Product Hotspots button.

Once you are ready to publish your application image, toggle the status from Draft to Publish. Then press the Save button.
For questions or guidance on application images, please visit our Image Policy.