![]()
![]()
PRO Level Team Admins can create project galleries to showcase project applications & spaces to the design community directly on their website. You can access this feature by expanding the “Inspiration” tab in the sidebar navigation, then selecting “Galleries”.
It’s first important to note that in order to create a Gallery, you must first upload your application images using the Application Photos feature.

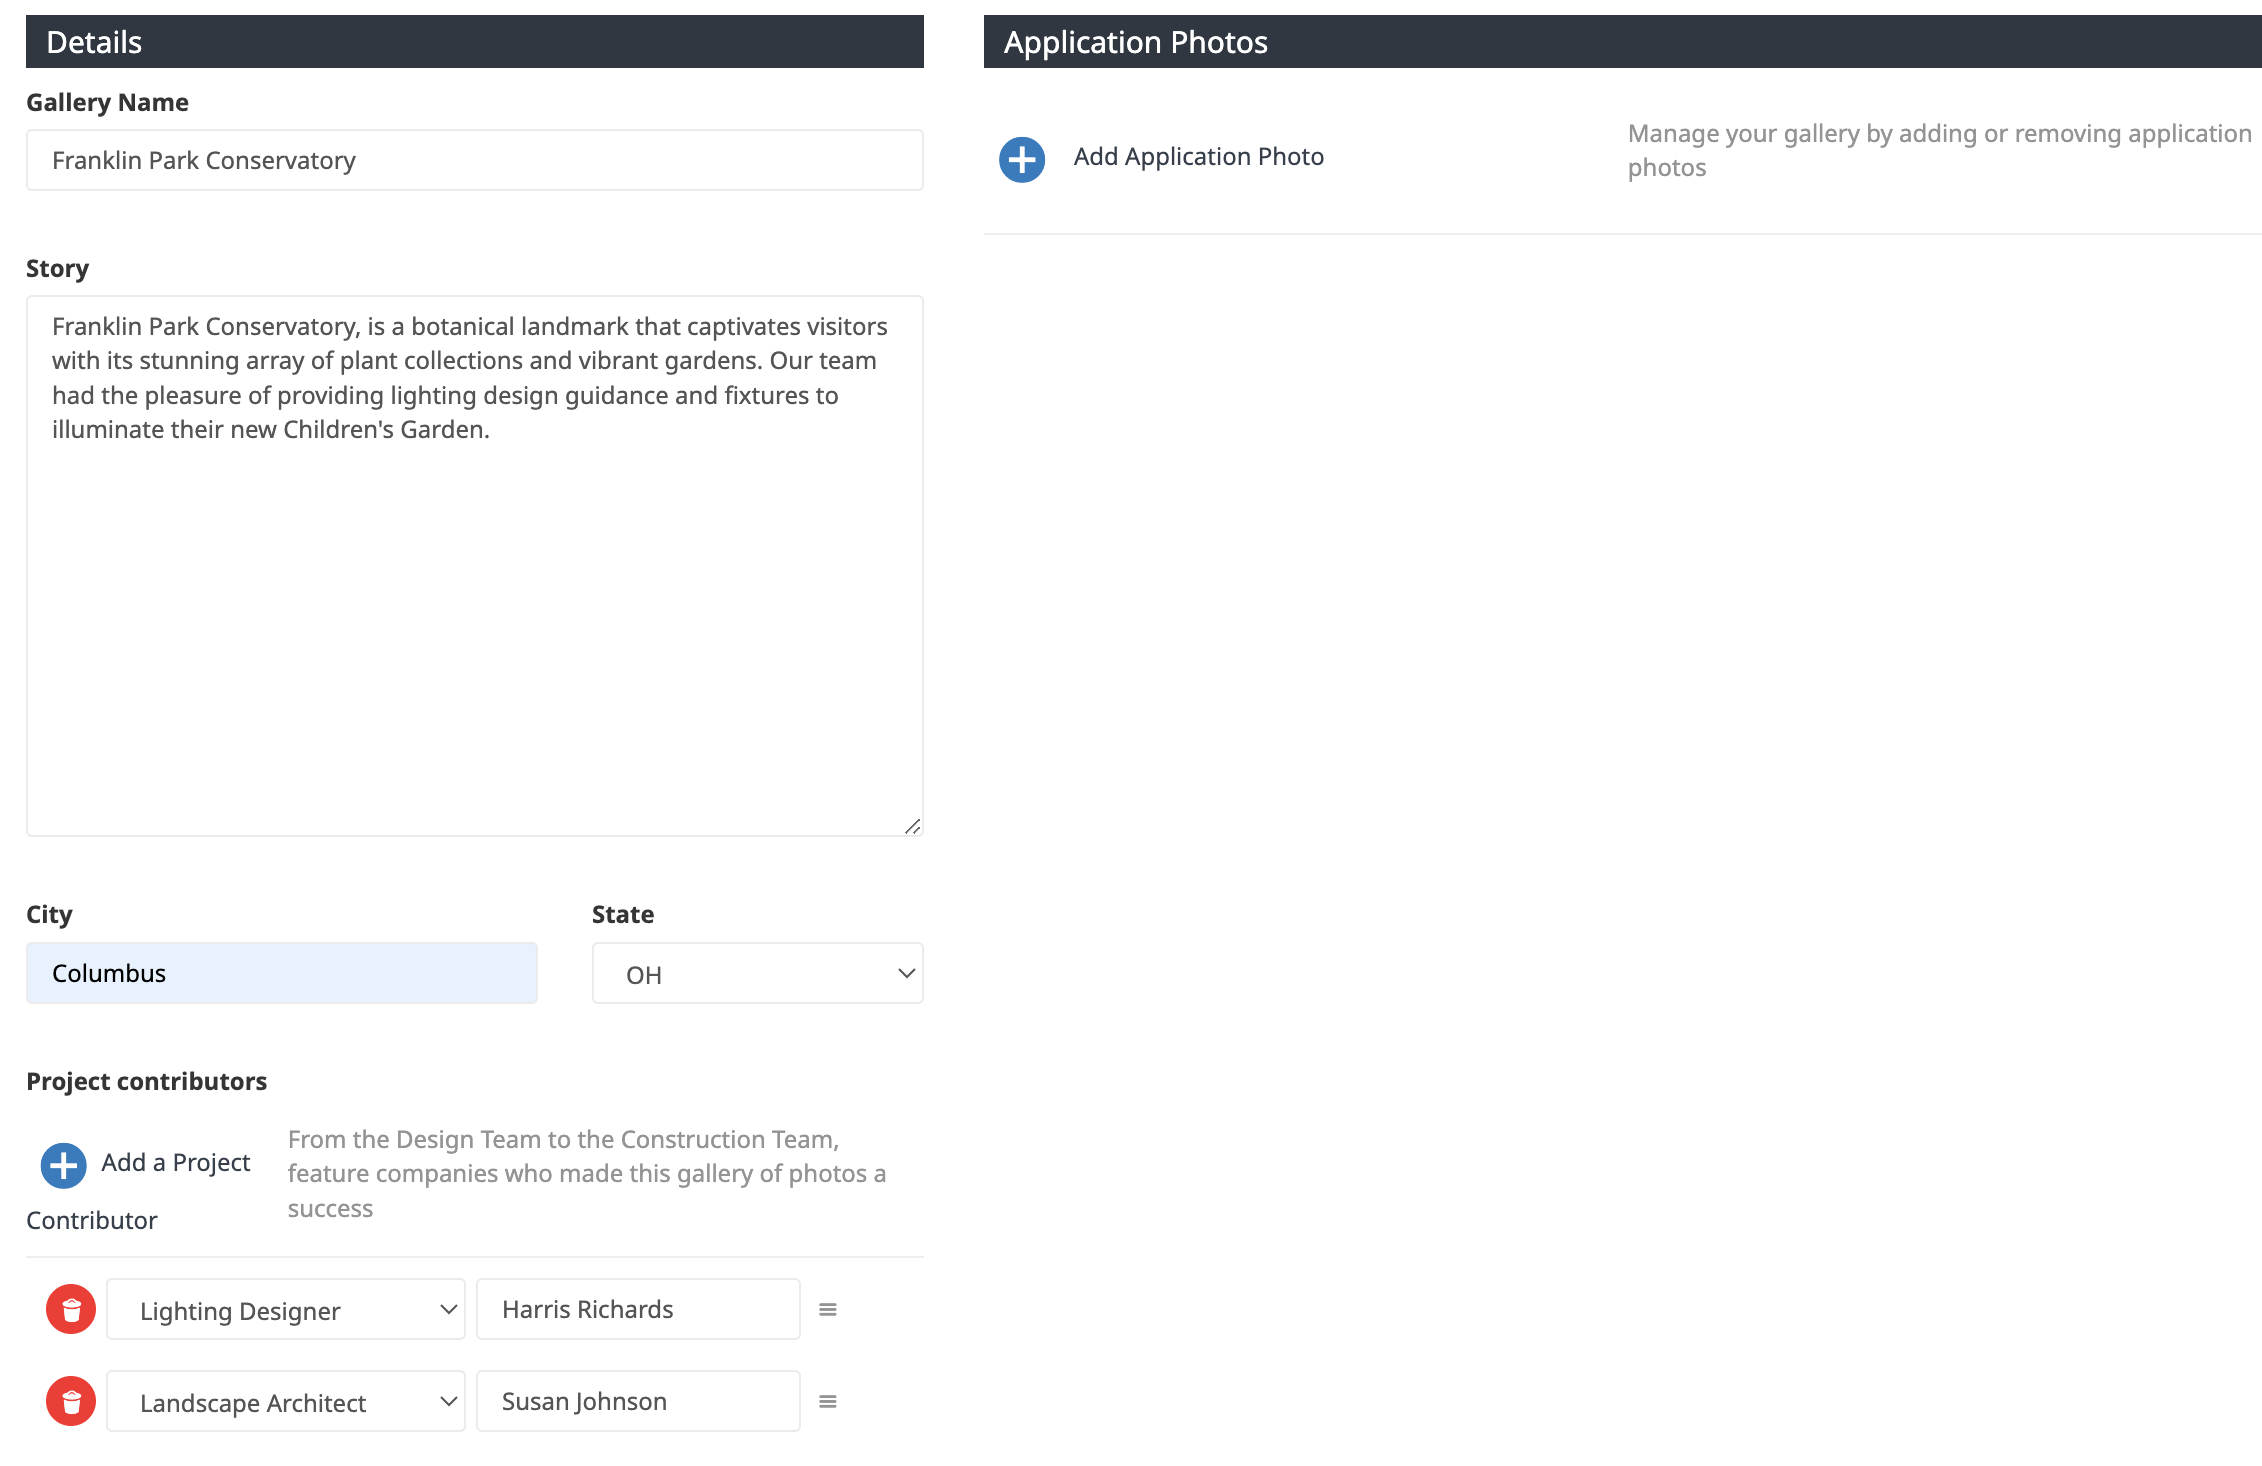
To create a new gallery, click on the Add New Gallery+ button. Then enter the gallery details including Gallery Name, Story, City, State and any Project Contributors that you would like to credit.
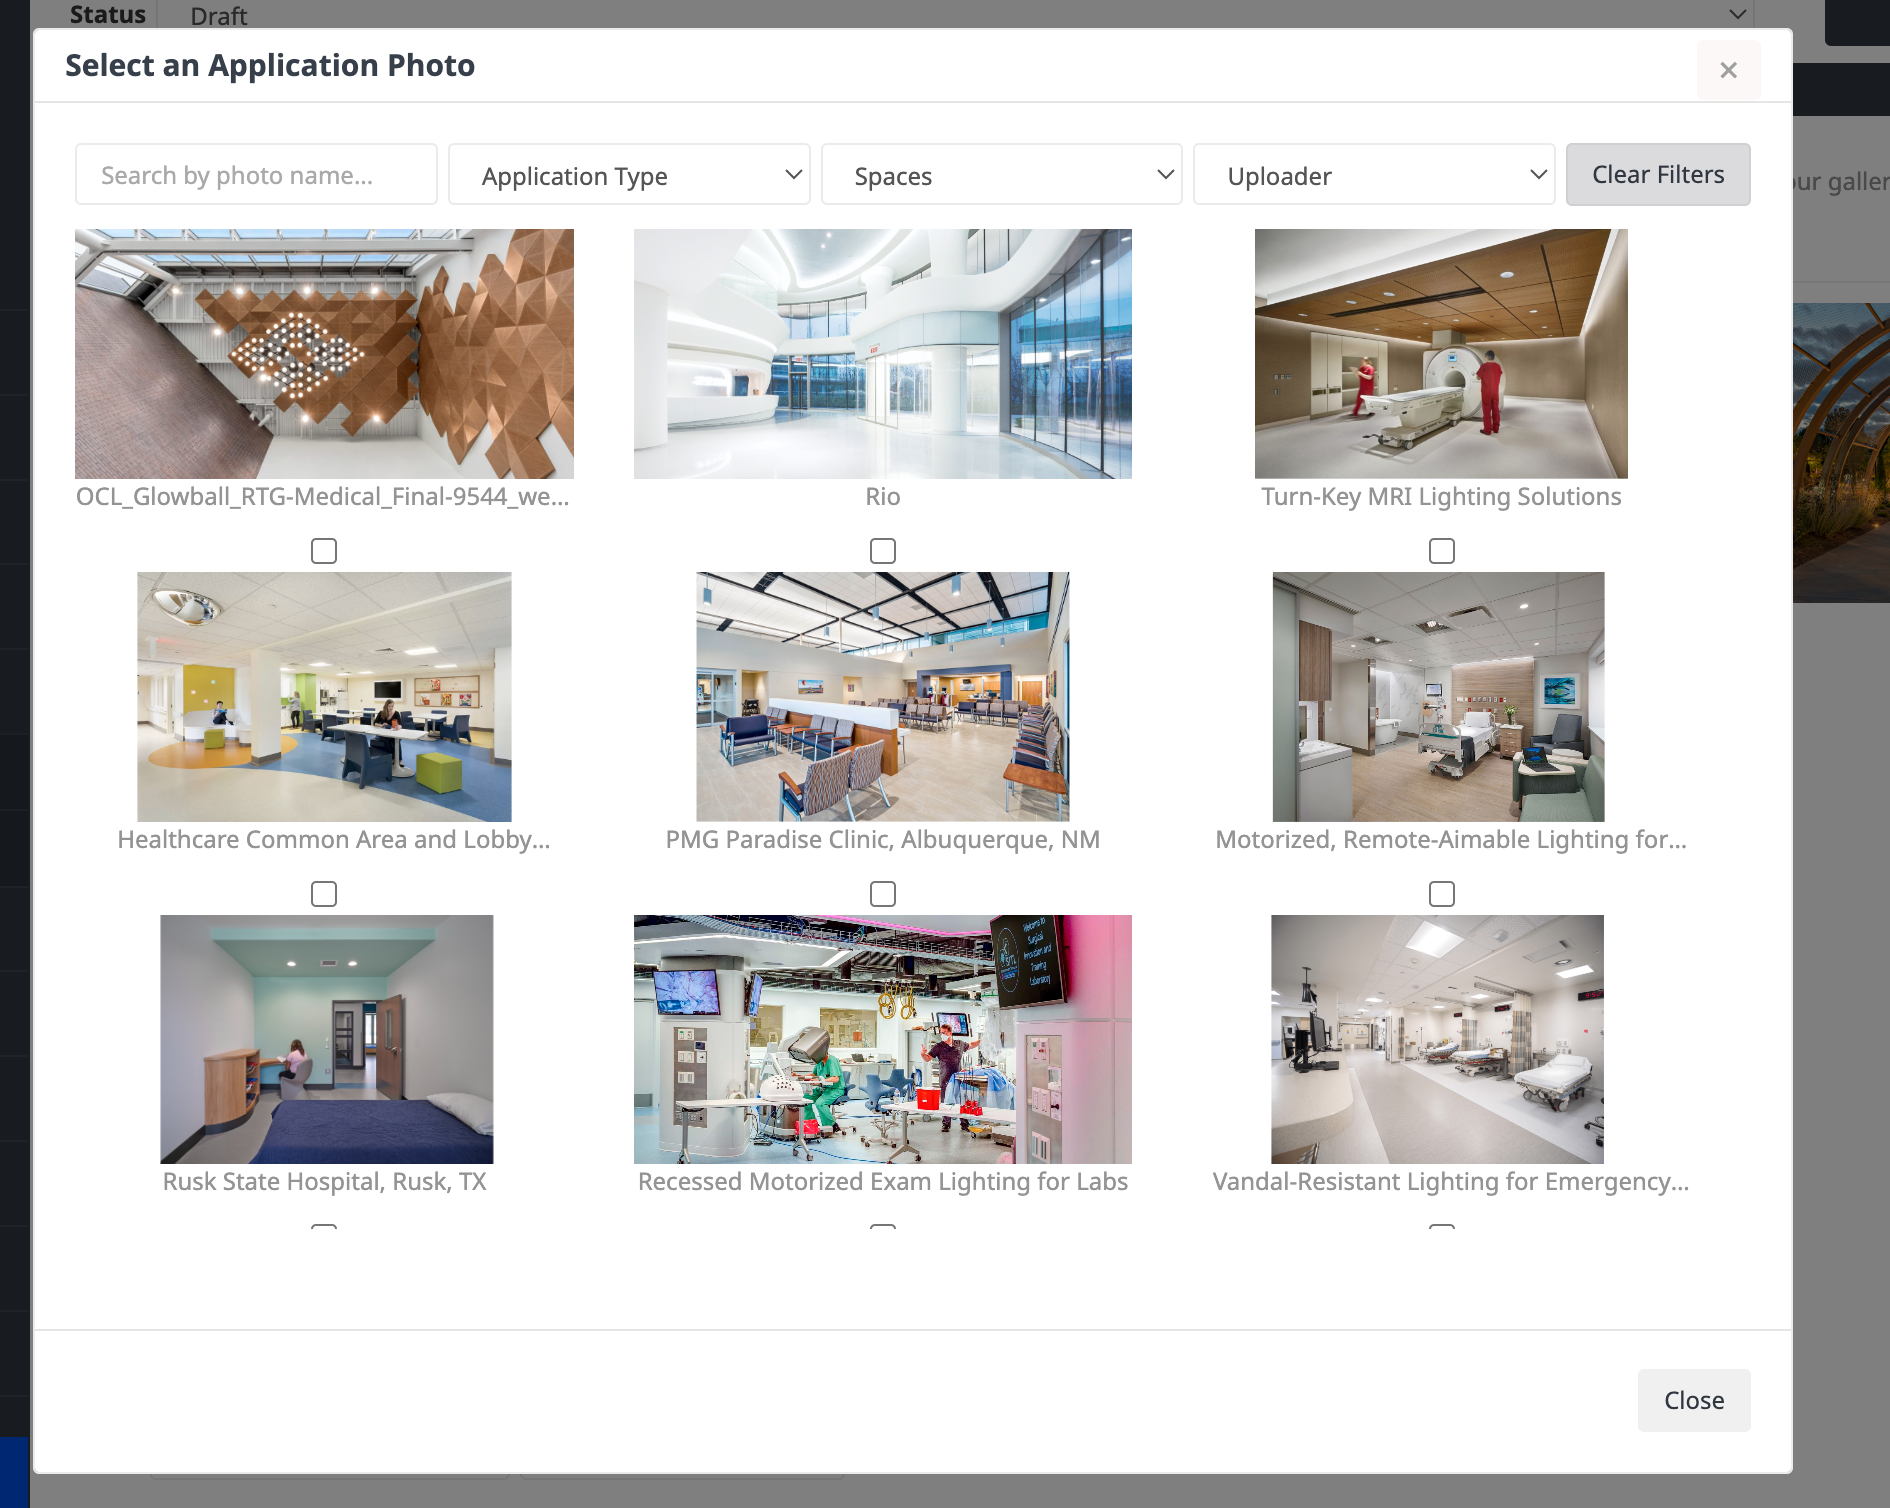
Click on the Add Application Photos button to select the images to use in your gallery.
It’s important to note that you need to add at least two application images in order to publish your gallery.
Once you have added your application images and you are ready to publish your gallery, toggle the Status dropdown from Draft to Active. Then press the Save button.

For questions or guidance on application images, please visit our Image Policy.