Creating the Budget Analysis
Within your Active Project you’ll first need to set up a Base Budget and enter in the overall budgeted cost.
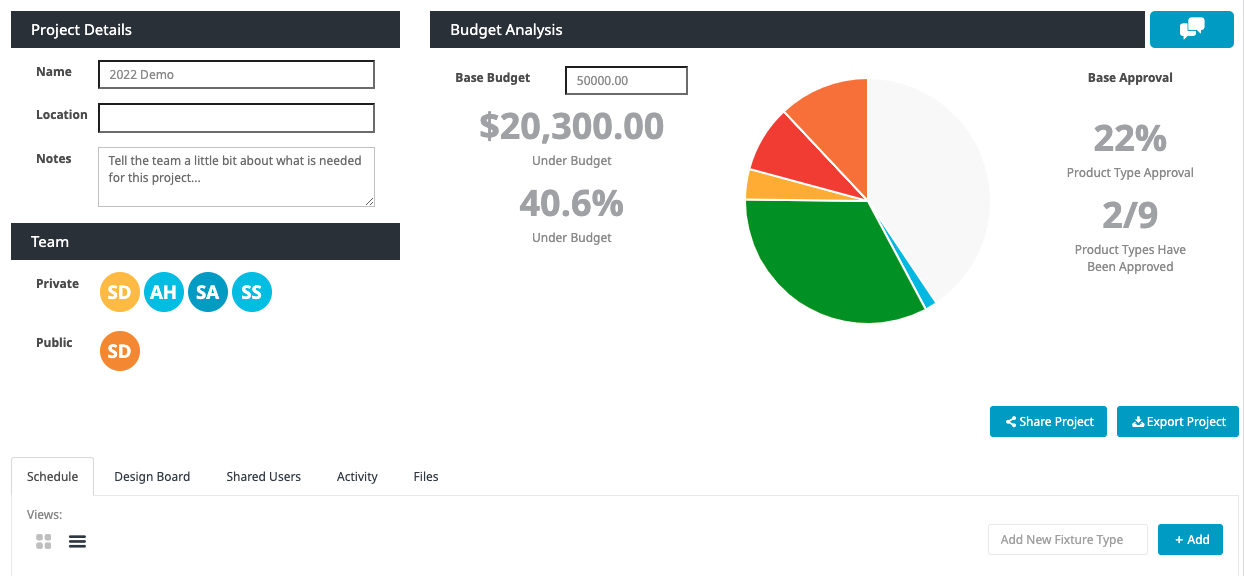
Then you can add pricing and quantities to each product within each fixture type you’ve created. The only price and quantity that is going to affect the overall budget analysis is the Base product entered. If you’d like to switch the Base product out for a different one, you can easily do that by dragging and dropping the products in the order you’d like them to appear. This will also update the budget analysis so long as the pricing and quantities are entered.

Once you’ve done this for all of your products, your budget will be complete. Depending on when you share this with the client, you can either do it all at once or piece by piece as you collaborate. If you ever need to change the pricing, you can easily do so and it will update the Budget Analysis in real time.
Sharing the Project Budget
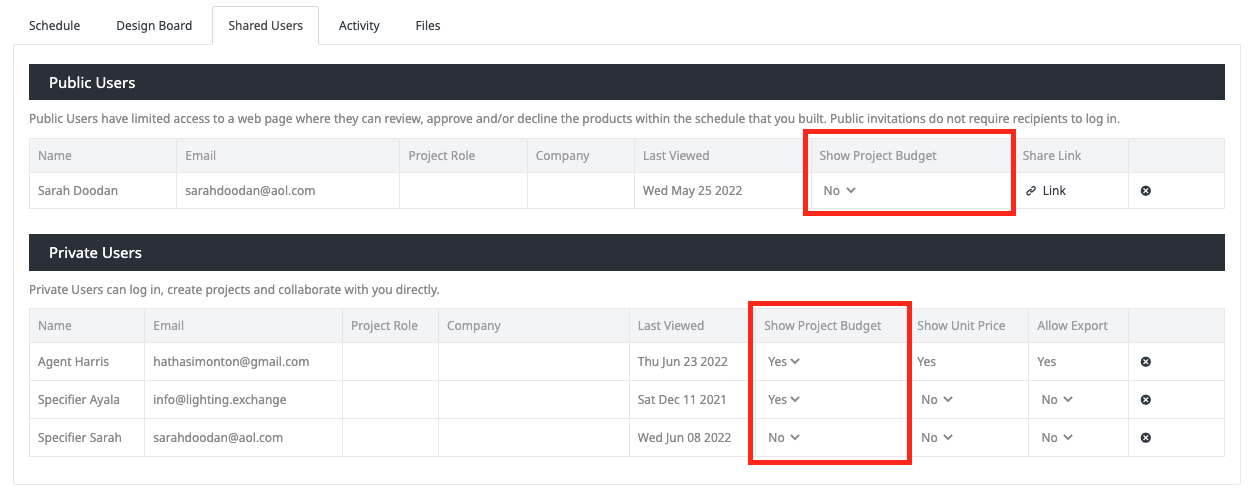
Whether the project is publicly shared or privately shared, the project owner can choose to give customers access to the Budget. This can be done in the Advanced sharing options when initially inviting a customer, or you can grant the access to them later by going into the Active Project and selecting the Shared Users tab. In this tab, you can select whether you’d like the system to Show the Project Budget; simply select Yes or No from the dropdown.
To Export your Fixture Schedule with or without your budget, you have several options under the Export Project button. Select whether you’d like to export the fixture schedule as a PDF or CSV, then select which pricing customization options you’d like to utilize for the export.
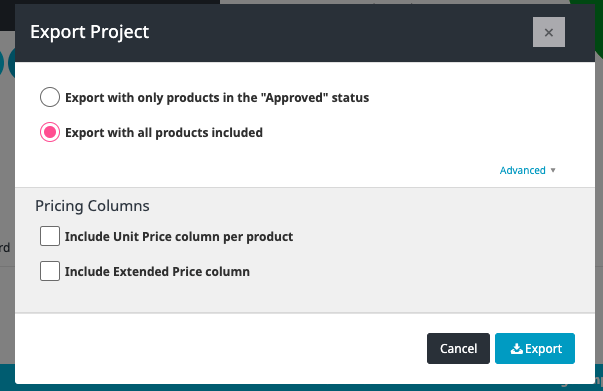
Once you’ve made your selections, click Export and the file of your choice will download automatically to your computer!